

Each Mezmo Organization allows for a certain number of users determined by your plan. Users who join your Mezmo Organization are called Members. Members of a Mezmo Organization are also called a Team. Organization administrators can:Documentation Index
Fetch the complete documentation index at: https://mezmo-9a59581a-mintlify-926f893d.mintlify.app/llms.txt
Use this file to discover all available pages before exploring further.
- Add and remove Organization members
- Assign roles and privileges to members
- Limit each member’s access to Mezmo resources
- Decide how Mezmo users can discover and join your Organization
- Toggle different methods of signing into your Organization
Manage Team
The Manage Team screen shows each Mezmo Organization member with their email, groups, and role. You can also see how many people your plan lets you have on your team.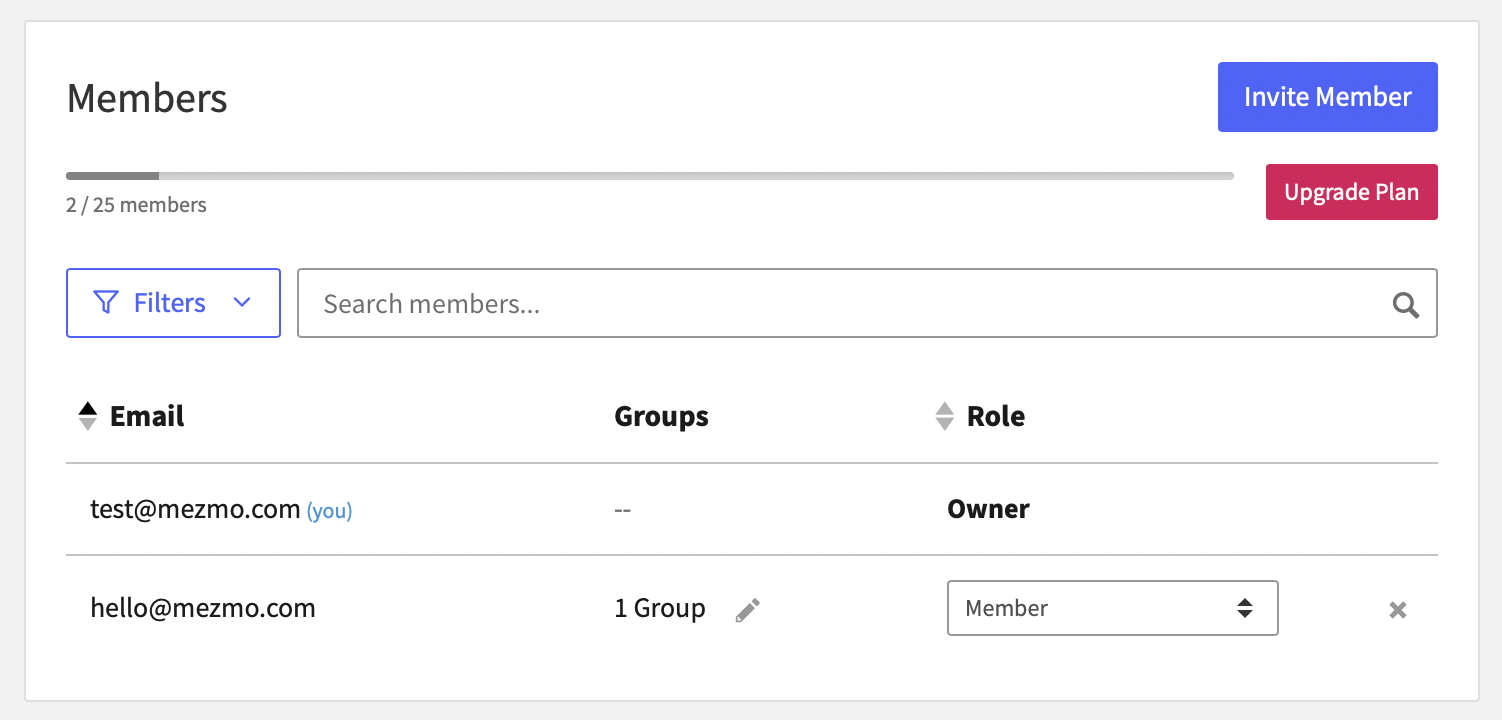
Invite Members
When you invite a member, Mezmo sends an email invitation to the address provided prompting the user to either create a Mezmo account or sign in using SSO. To add a member:- Go to Members and click Invite Member.
- Enter the email address of the person who you want to add.
- Select the role that the member will be assigned to.
- Select the groups that the member will be assigned to. Members with no assigned groups will have access to all logs.
- Click Invite Member to send an email invitation to the member.
Edit a Member
You can modify each member’s groups and roles at any time, including while they have an outstanding invitation. You can’t change a member’s email address after their account has been created. To edit a member’s group, click the pencil icon in the Groups column. This opens a window where you can select the groups that the member will be assigned to. To edit a member’s role, select the desired role from the drop-down in the Role column.Remove a Member
To remove a member from your Organization, click the grayX next to the member’s role. This won’t delete the user’s account, but will revoke their membership to your Organization.